Take your basketball to the next level
Save time, organize your team and prepare professional practices with advanced tools.
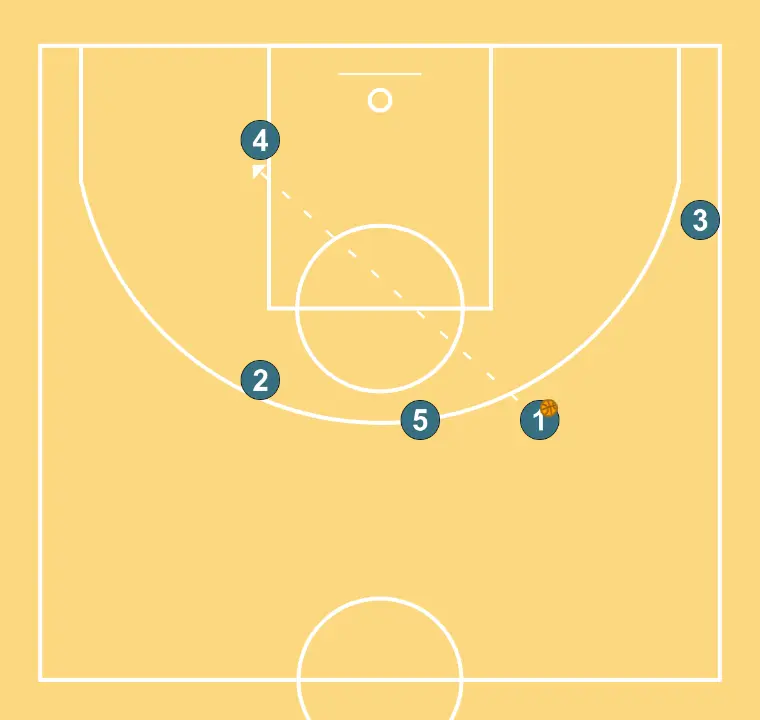
HORN
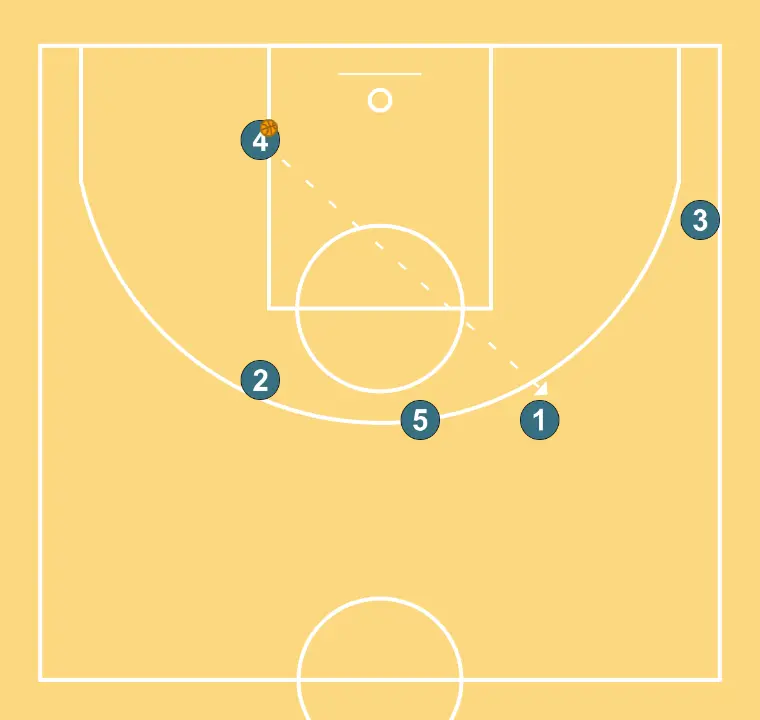
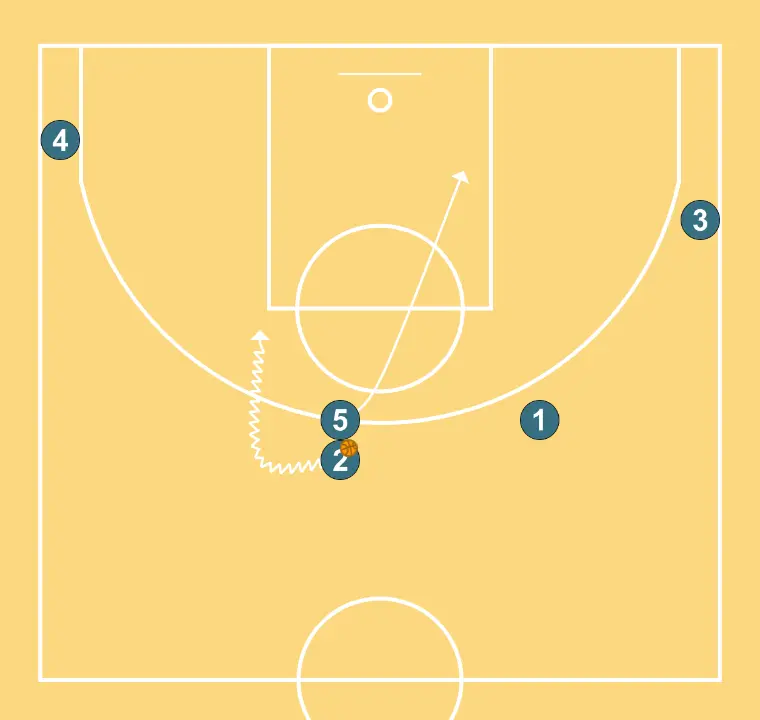
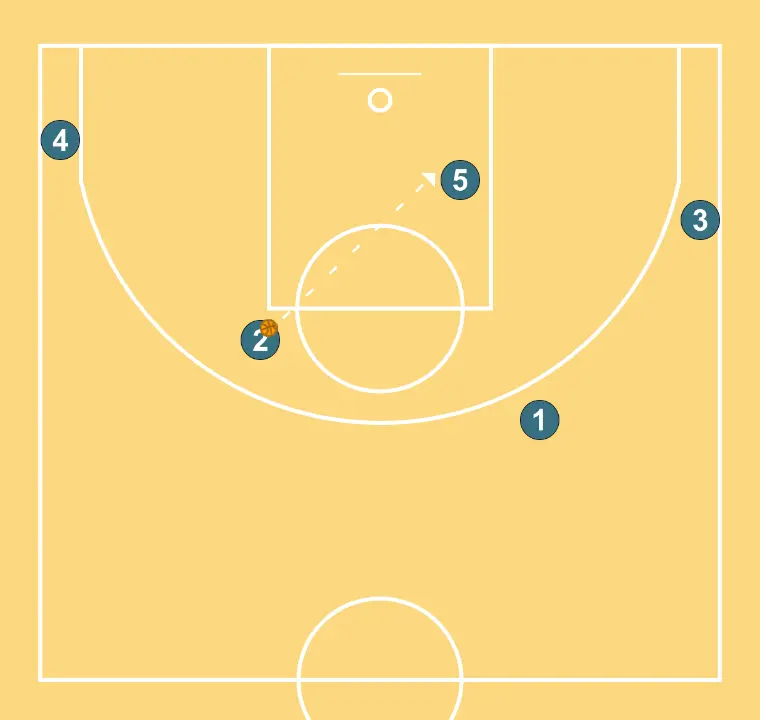
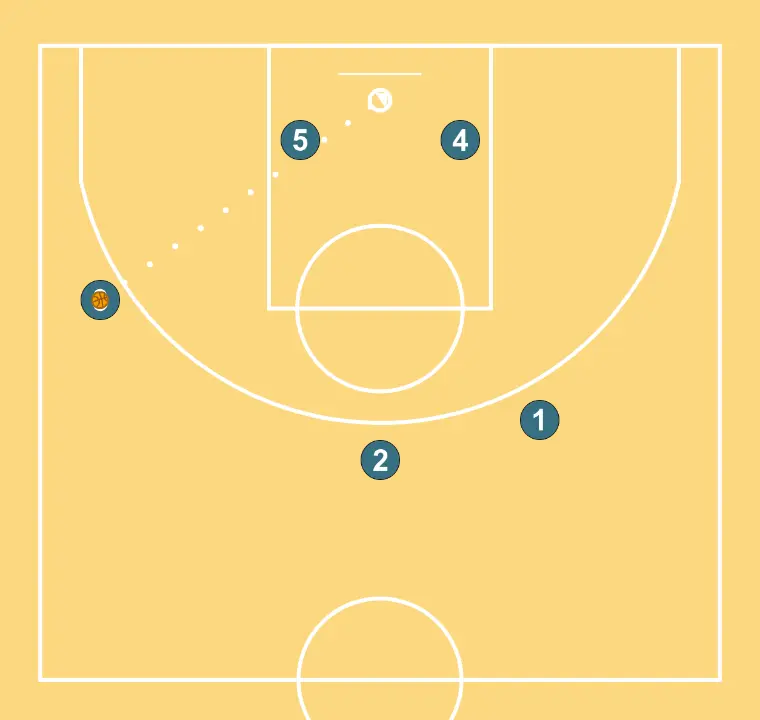
Play- Step 4: pass to the drop of FOUR with a backpick.
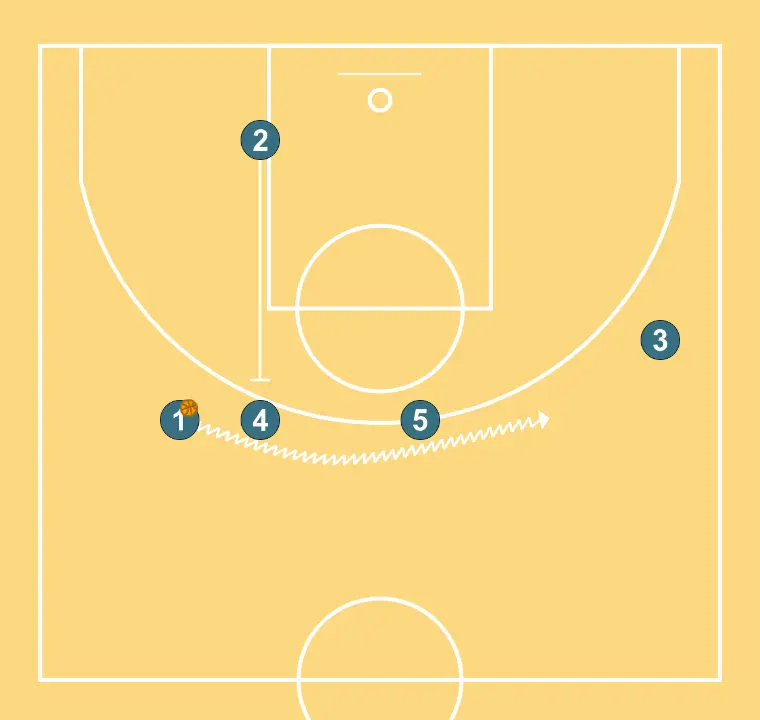
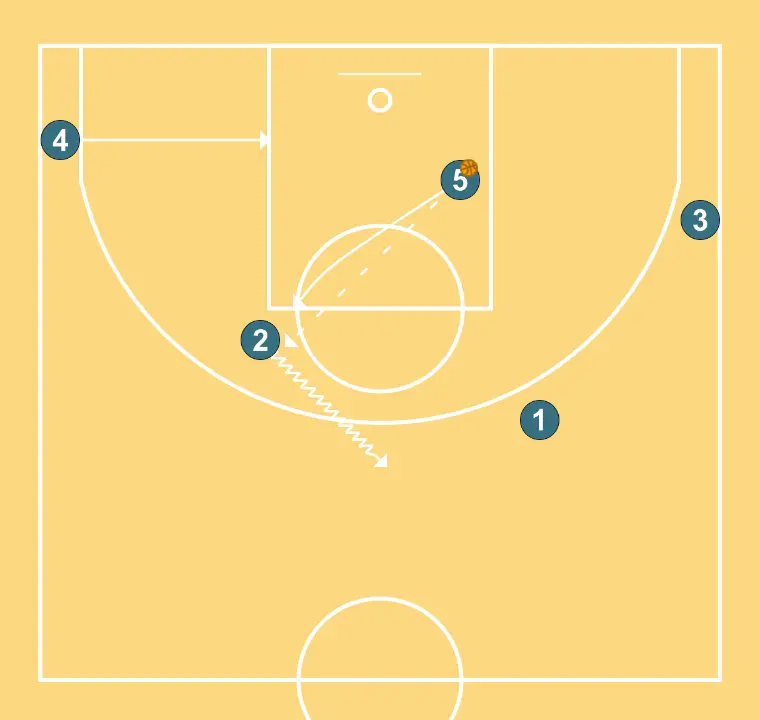
- Step 10: finishes central pick and roll option with TWO.
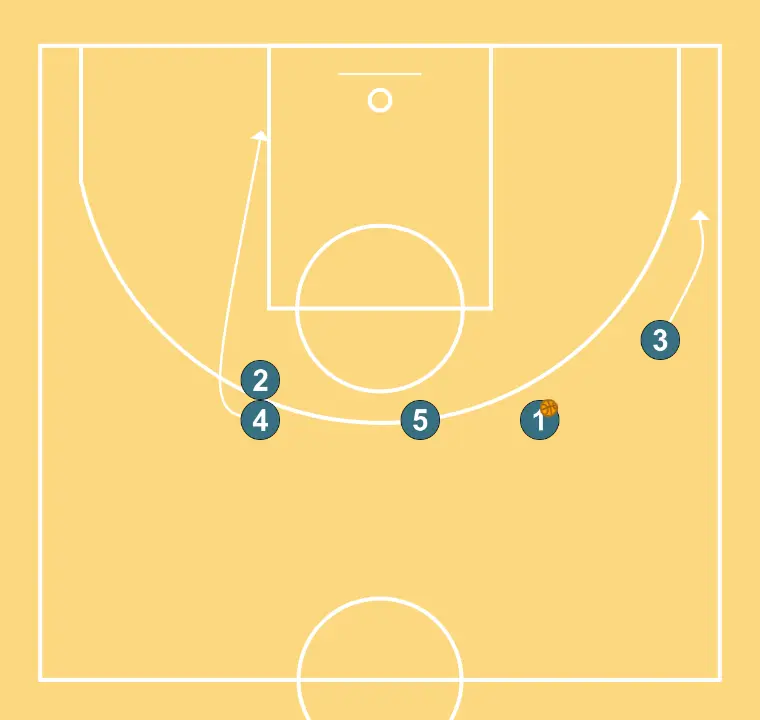
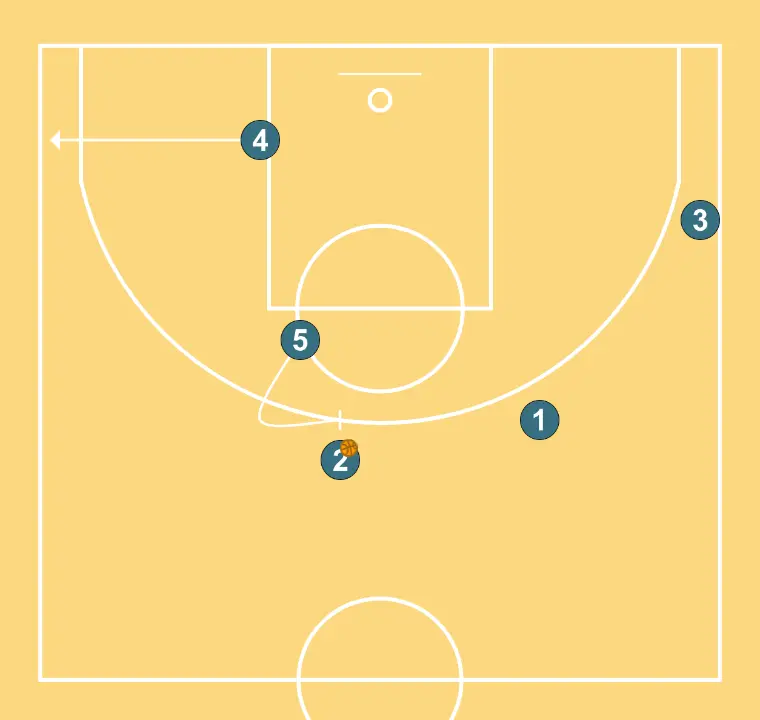
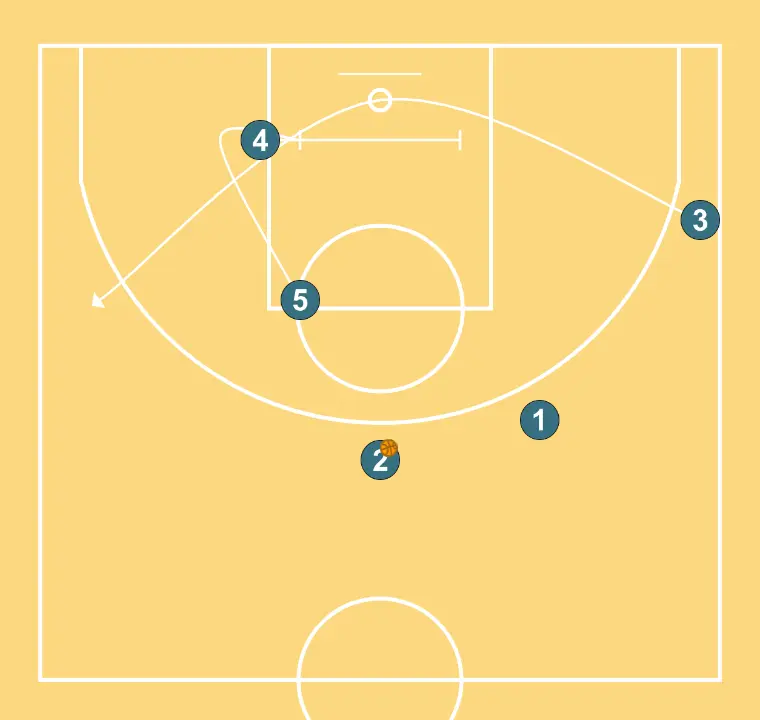
- Step 11: option to move the shooter (THREE) to 45 with double screen.
Then see if he shoots alone or plays pick with FOUR to baseline.


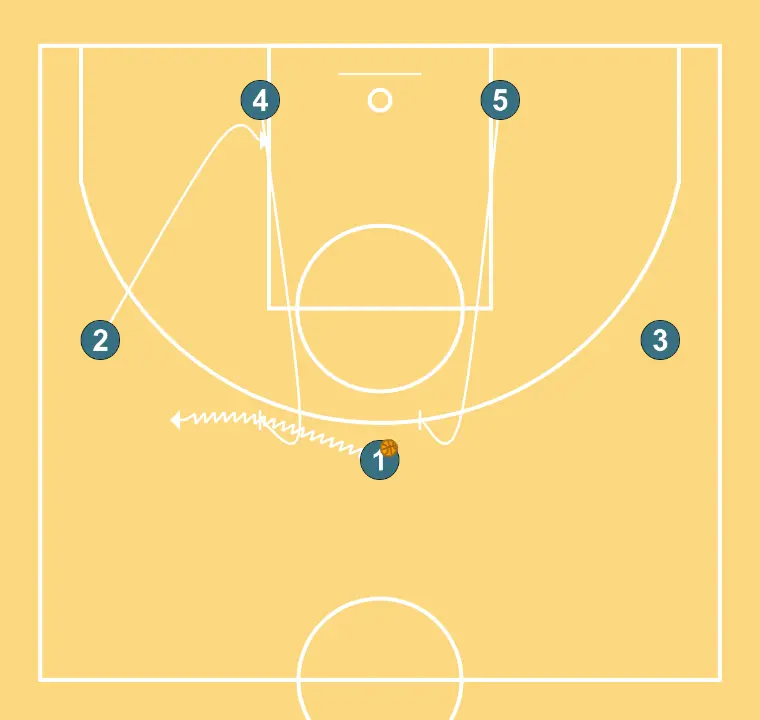
4 sets a precise screen helping a teammate penetrate towards the basket. Shooting guard changes location seeking advantage over the defender and scoring opportunities. 5 blocks the defender, opening space for cuts, drives, or shots.
2 executes an effective screen maintaining the team’s offensive flow.
3 places themselves strategically to generate passing angles and anticipate defensive moves. Power forward adjusts position to facilitate ball movement and anticipate the defense.
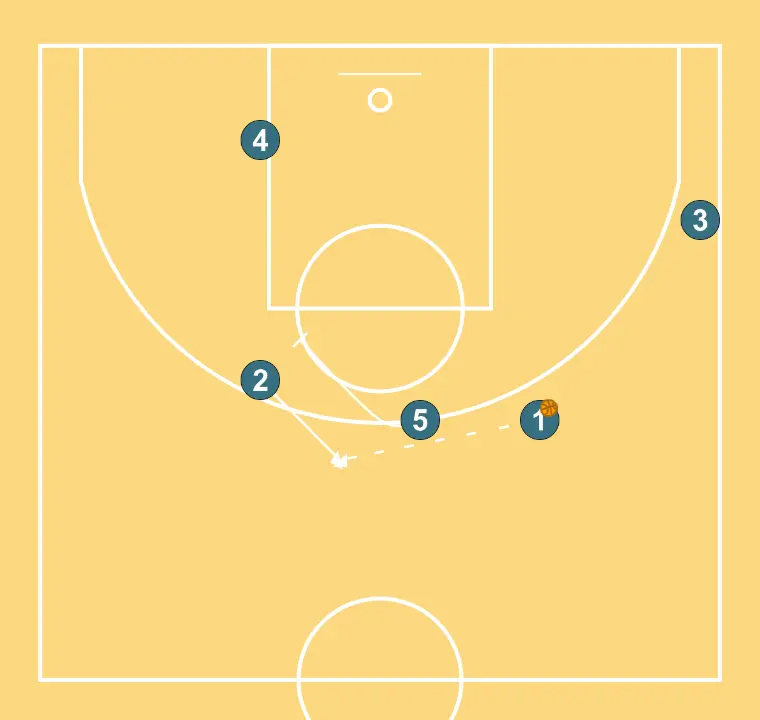
Center sets a precise screen helping a teammate penetrate towards the basket. Shooting guard places themselves strategically to generate passing angles and anticipate defensive moves.
4 moves to support teammates and maintain constant game flow. 5 performs a tactical screen causing mismatches in the opponent’s defense.
5 shifts to an optimal spot on the court to maximize offensive efficiency.
Center moves to support teammates and maintain constant game flow. 4 shifts to an optimal spot on the court to maximize offensive efficiency.
Power forward executes an effective screen maintaining the team’s offensive flow. 5 blocks the defender, opening space for cuts, drives, or shots. 3 shifts to an optimal spot on the court to maximize offensive efficiency.
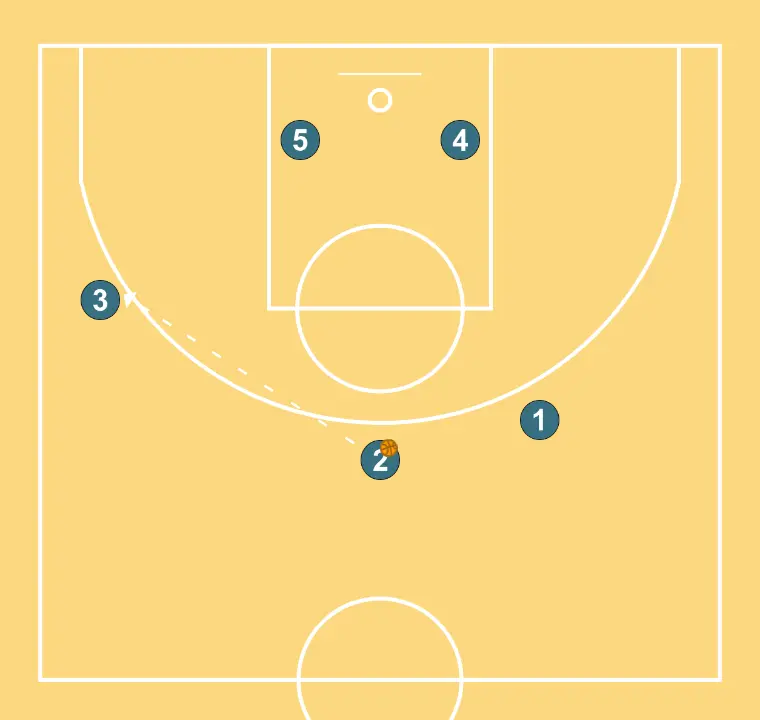

The initial setup is organized to create synergy between movements, screens, and passes for the opening play.