Take your basketball to the next level
Save time, organize your team and prepare professional practices with advanced tools.
Big
Play

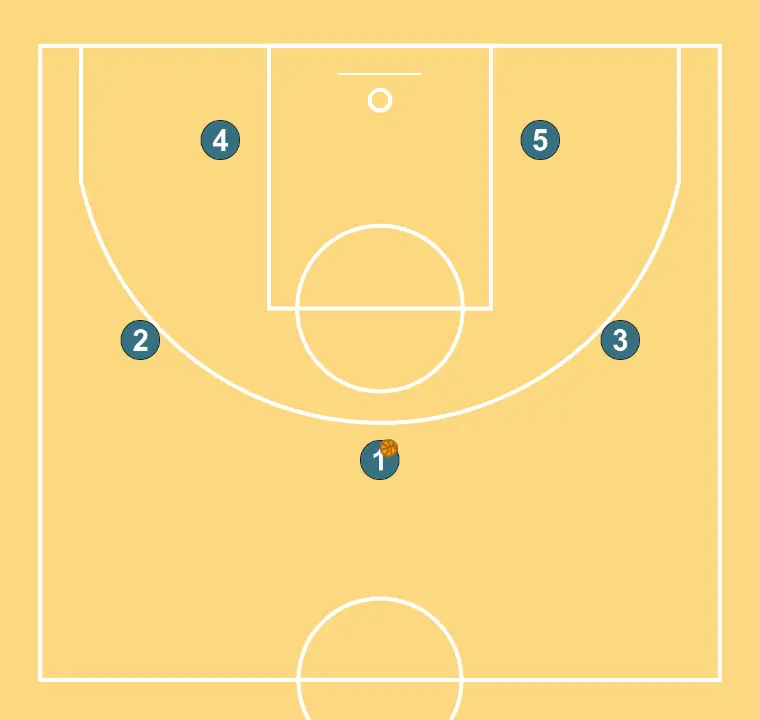
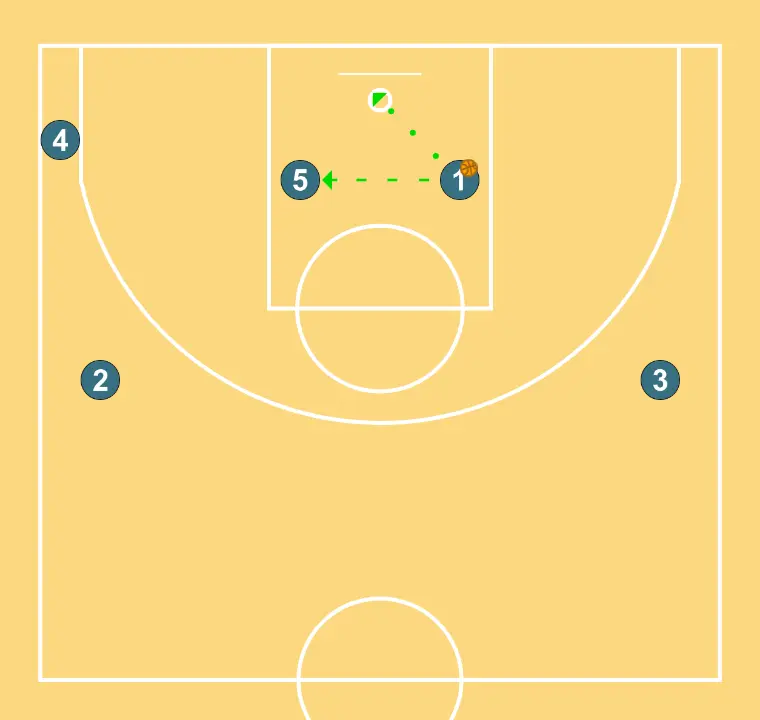
The initial setup is organized to create synergy between movements, screens, and passes for the opening play.
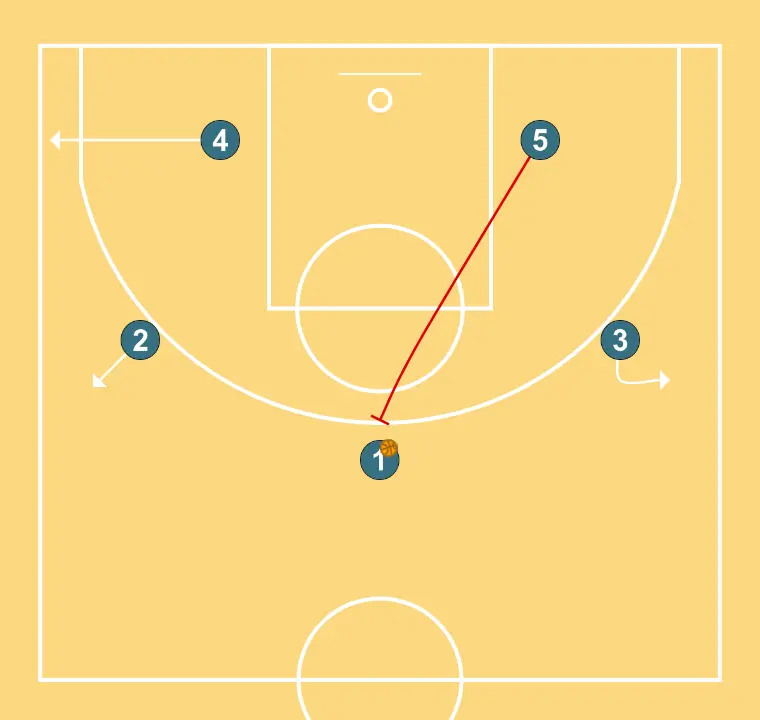
5 sets a precise screen helping a teammate penetrate towards the basket. 4 adjusts position to facilitate ball movement and anticipate the defense. Shooting guard moves to support teammates and maintain constant game flow. Small forward moves to support teammates and maintain constant game flow.
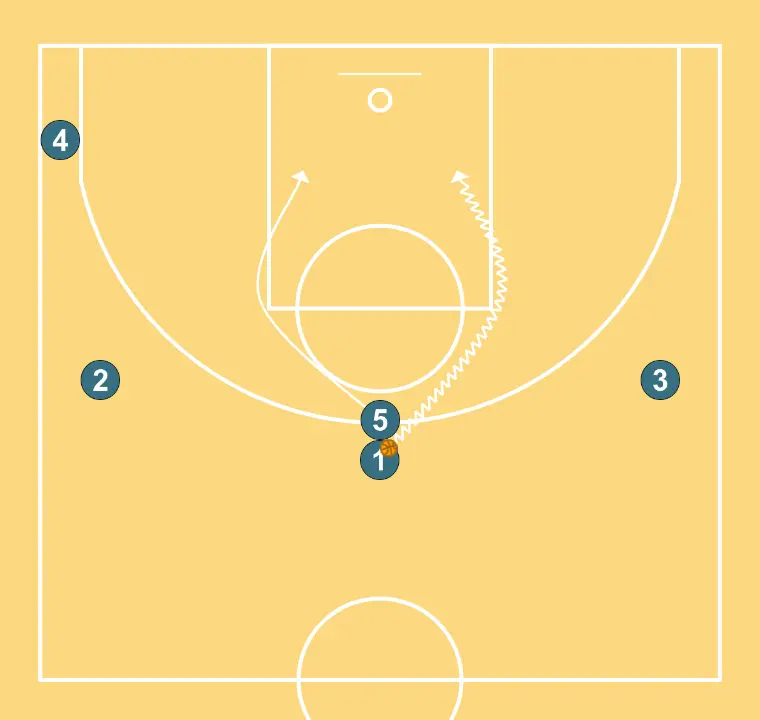
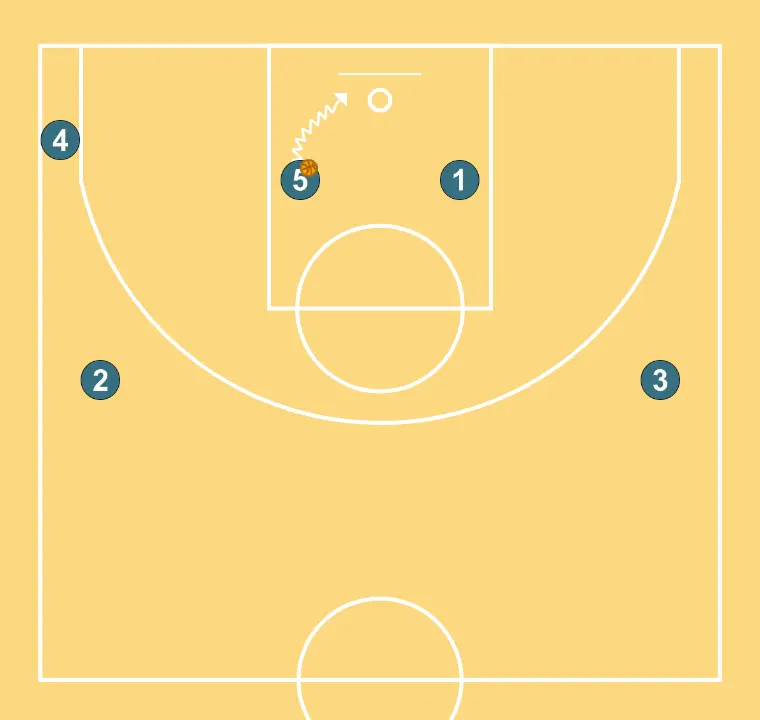
Center changes location seeking advantage over the defender and scoring opportunities.


Related diagrams

1504 views ·

1838 views ·

1868 views ·


