Take your basketball to the next level
Save time, organize your team and prepare professional practices with advanced tools.
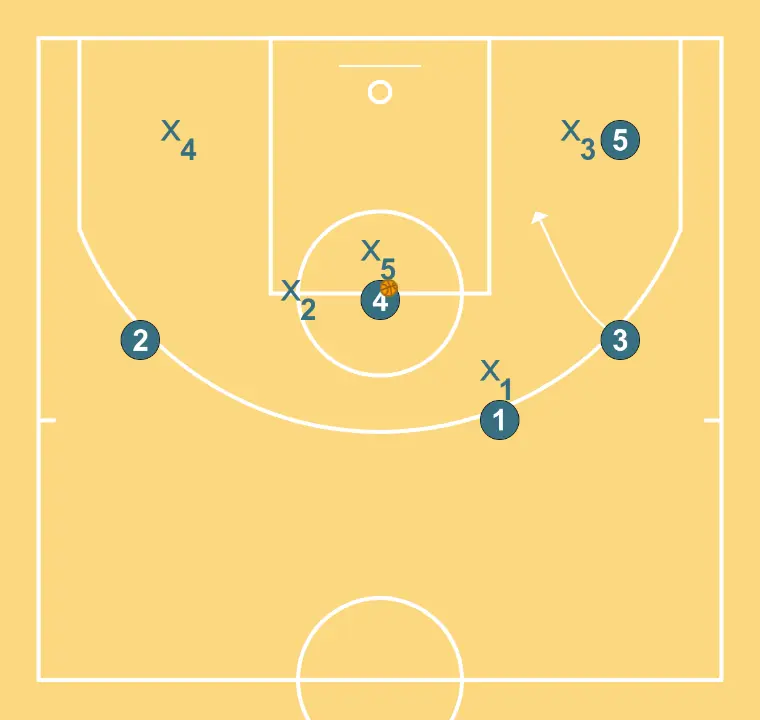
Attack vs 2-3 Zone
Play

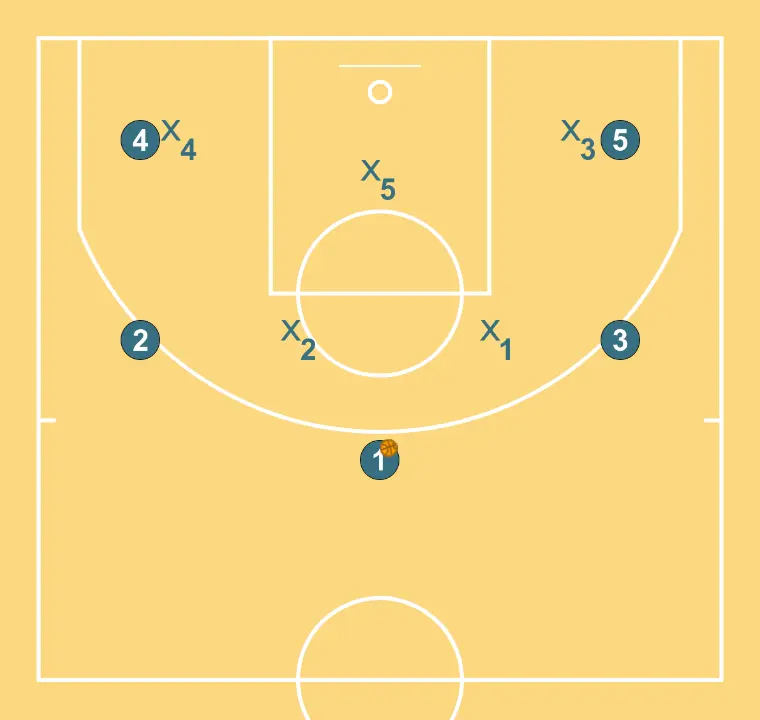
Initial formation of players, ready to start the play with fluidity and clear passing lanes.
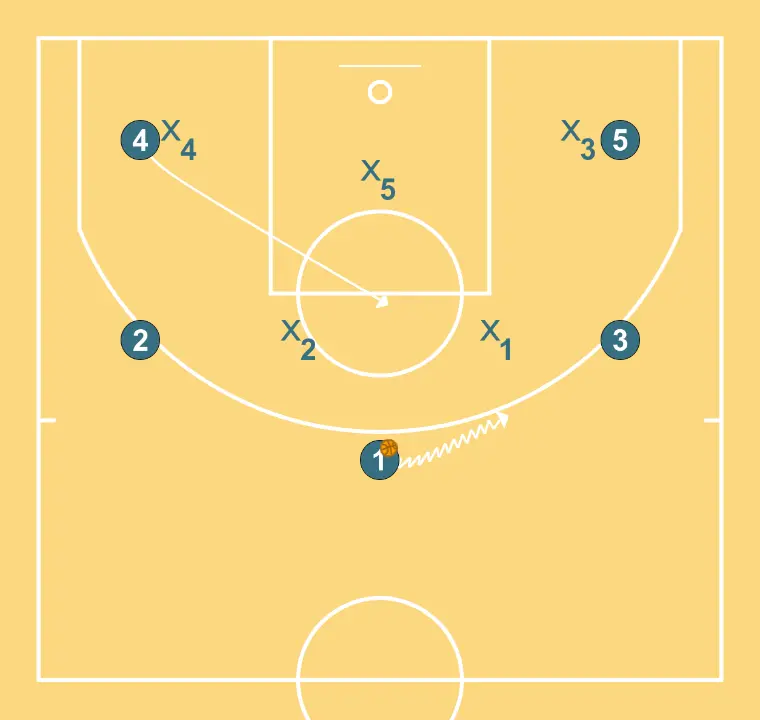
Power forward places themselves strategically to generate passing angles and anticipate defensive moves.
5 places themselves strategically to generate passing angles and anticipate defensive moves. Shooting guard adjusts position to facilitate ball movement and anticipate the defense. 1 moves strategically to provide new passing lanes and open space.
Small forward alters position to create defensive mismatches and penetration options.

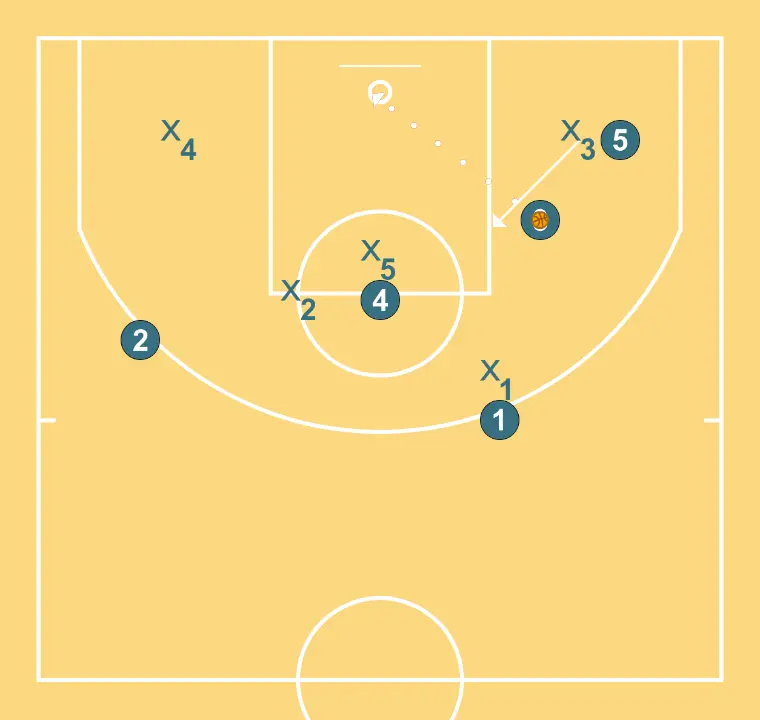
3 moves to support teammates and maintain constant game flow.


")


 Two High Posts")

")
