Elevator corner vs zone
⭐ PRO Features
Take your basketball to the next level
Save time, organize your team and prepare professional practices with advanced tools.
Unlimited private plays and drills
Complete season planning
Live stats recording
Advanced team and player management
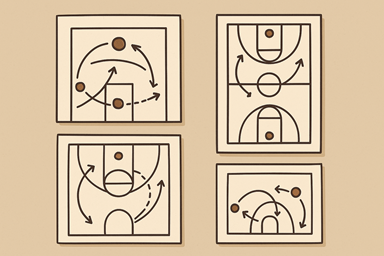
Elevator corner vs zone
Play

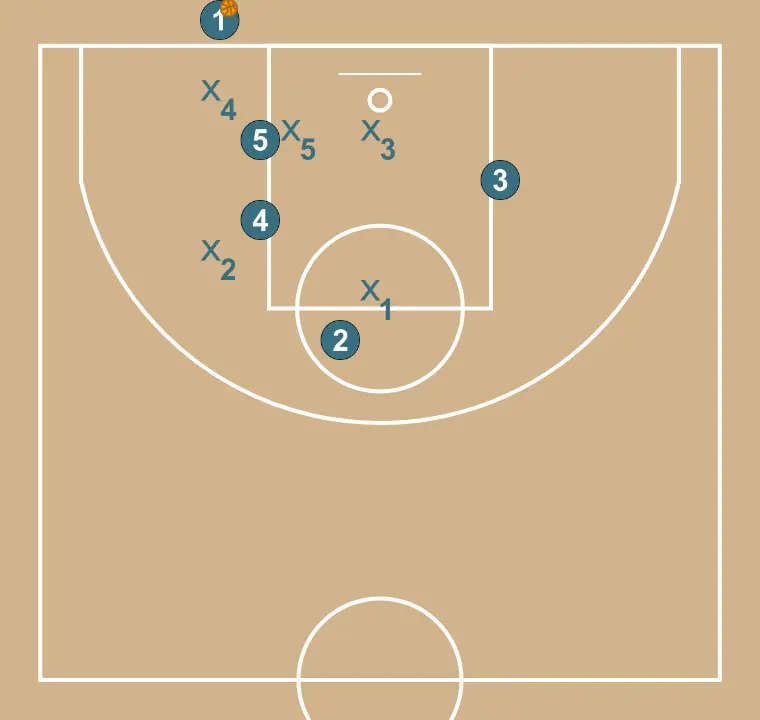
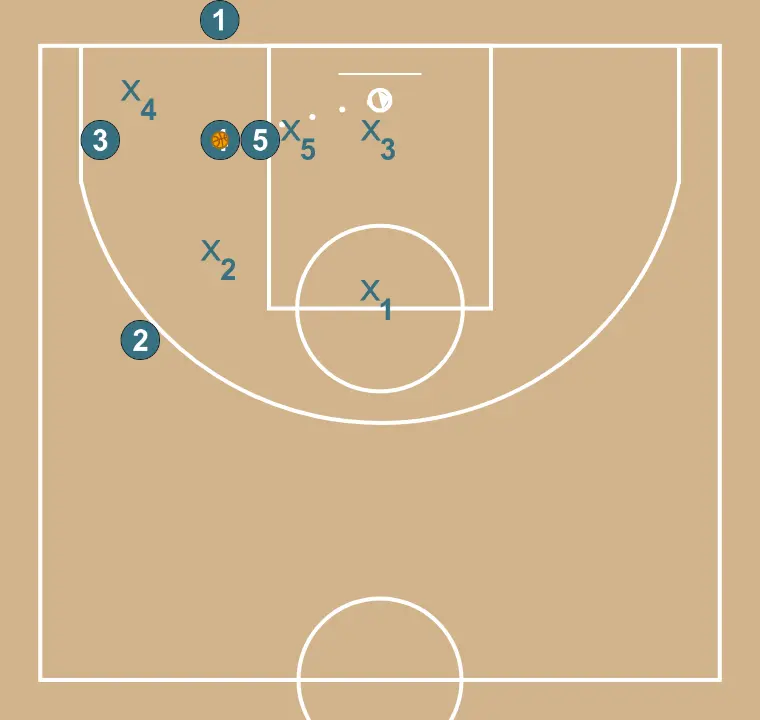
Inside players position themselves as shown in the diagram, on the inbounder’s side. The possible receiver 3 (our shooter) stays on the weak side, while the second outside receiver 2 stands at the free-throw line.
STEP 1
Inside players position themselves as shown in the diagram, on the inbounder’s side. The possible receiver 3 (our shooter) stays on the weak side, while the second outside receiver 2 stands at the free-throw line.
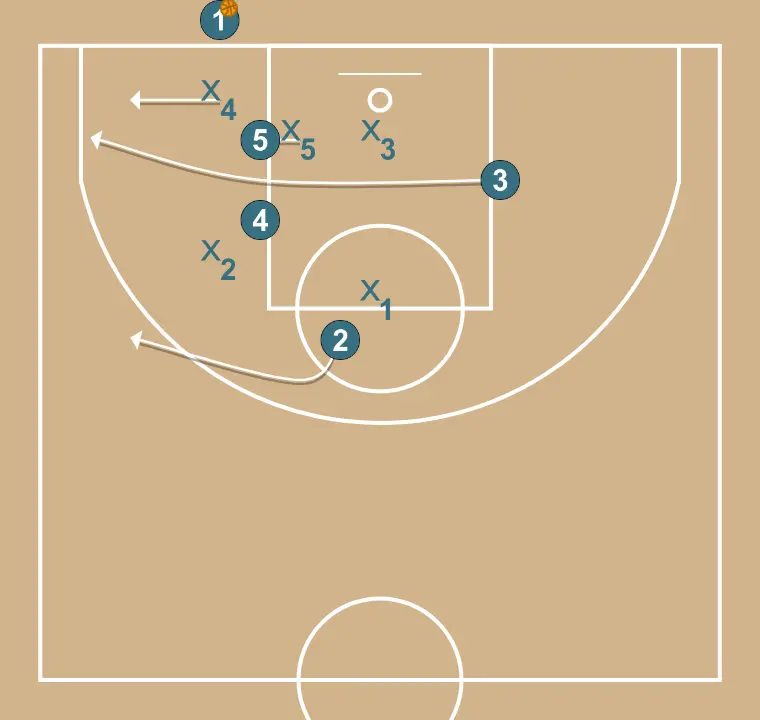
As soon as we have the ball to inbound, player 3 cuts between the two inside players to receive in the corner. Player 2 moves to the 45° spot so his defender must also cover a possible outside shot. Meanwhile:
- Player 5 screens his defender so player 4 can receive behind him for an easy shot (bank or short range).
STEP 2
As soon as we have the ball to inbound, player 3 cuts between the two inside players to receive in the corner. Player 2 moves to the 45° spot so his defender must also cover a possible outside shot. Meanwhile:
- Player 5 screens his defender so player 4 can receive behind him for an easy shot (bank or short range).
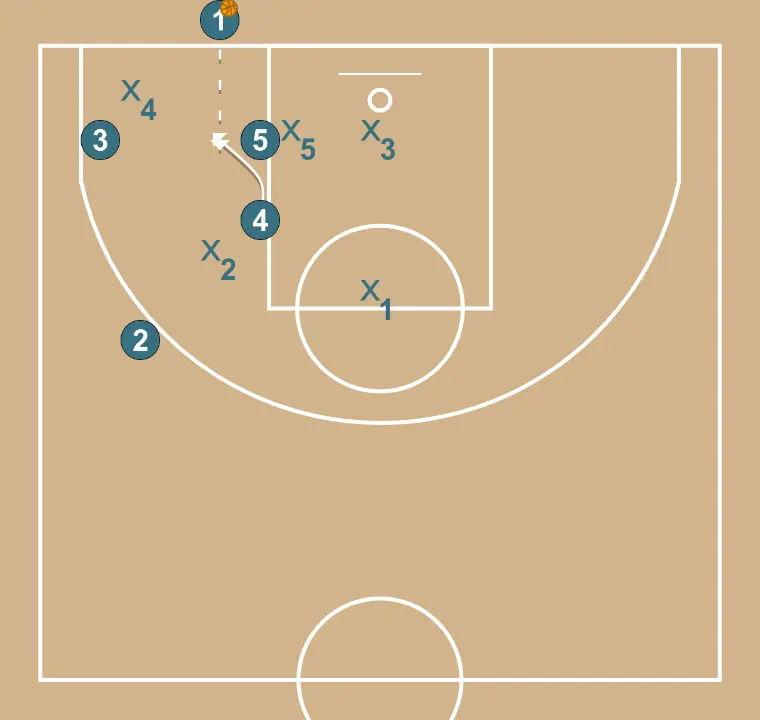
STEP 3
4 moves strategically to provide new passing lanes and open space.
STEP 4


 Initial Perimeter Pass")


