🚀 Go Pro and level up your game
Access advanced tools, plays, and stats for professional coaches.
✅ First 3 months free! Cancel anytime
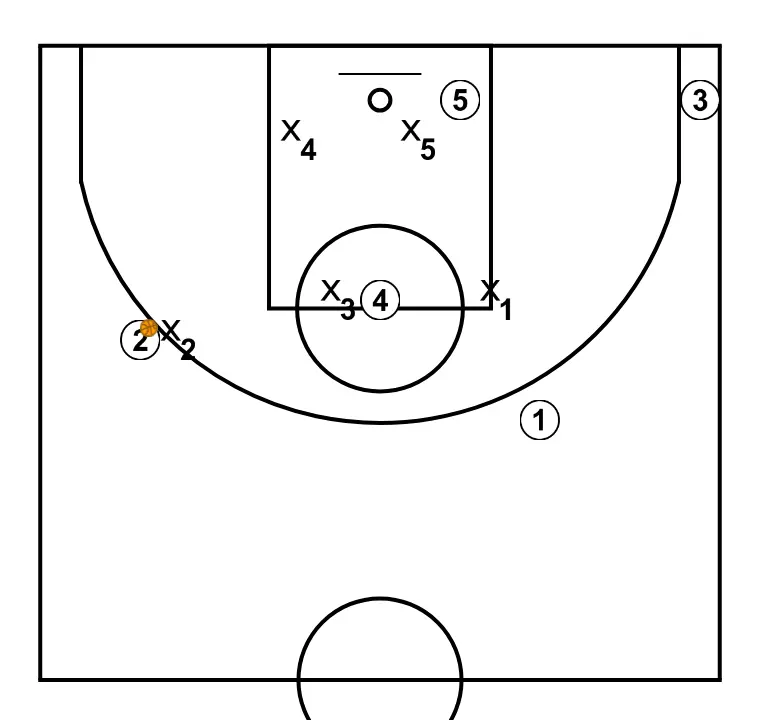
1-2-2 Defense option pass to the top on the opposite side from the corner
PlayOur 3 (forward) is the one responsible for defending the ball handler initially, although there will be rotations in other options. At the top of the zone are 1 and 2, and at the bottom are 4 and 5.
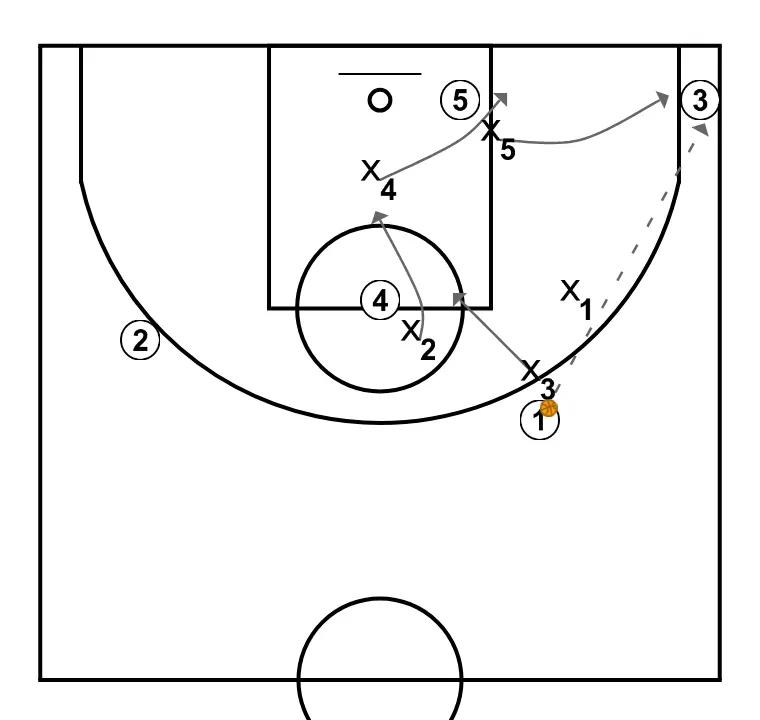
In this option we did not trap in the corner, and when the pass goes to the top on the opposite side, we readjust all the players to return to the 1-2-2 setup.
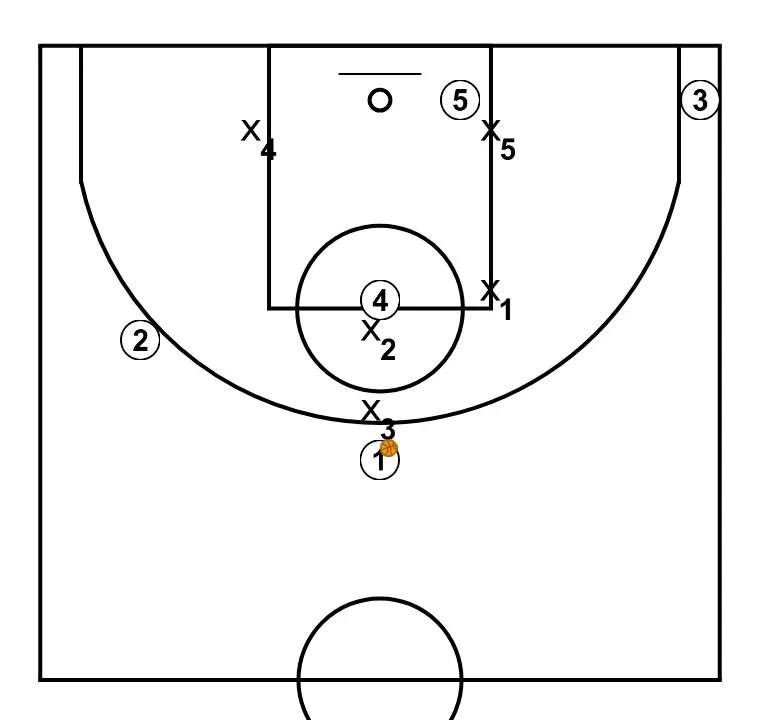
Each player is located strategically to maximize effectiveness in the first phase of the attack.
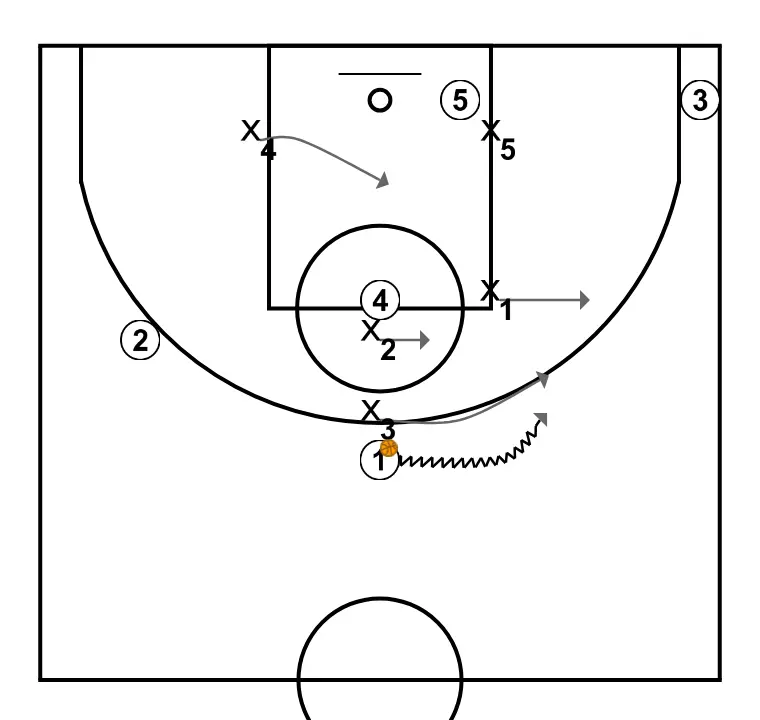
3 shifts to an optimal spot on the court to maximize offensive efficiency. 2 shifts to an optimal spot on the court to maximize offensive efficiency. Point guard moves strategically to provide new passing lanes and open space. Power forward alters position to create defensive mismatches and penetration options.
5 moves strategically to provide new passing lanes and open space. Power forward alters position to create defensive mismatches and penetration options. 3 moves strategically to provide new passing lanes and open space. 2 moves strategically to provide new passing lanes and open space.

Shooting guard places themselves strategically to generate passing angles and anticipate defensive moves. Small forward changes location seeking advantage over the defender and scoring opportunities. 1 moves to support teammates and maintain constant game flow. Power forward shifts to an optimal spot on the court to maximize offensive efficiency. Center shifts to an optimal spot on the court to maximize offensive efficiency.
Each player is located strategically to maximize effectiveness in the first phase of the attack.


