
Drill
combined close out and 1v1
#1v1 #closeout
Tactical viewer
Use the existing playback controls to study the movement, then review each step below.
Save and share
Practice fit
This drill remains fully available using its existing categories and description.
Step by step
Step descriptions
Review the court position and available coaching instructions for each step.
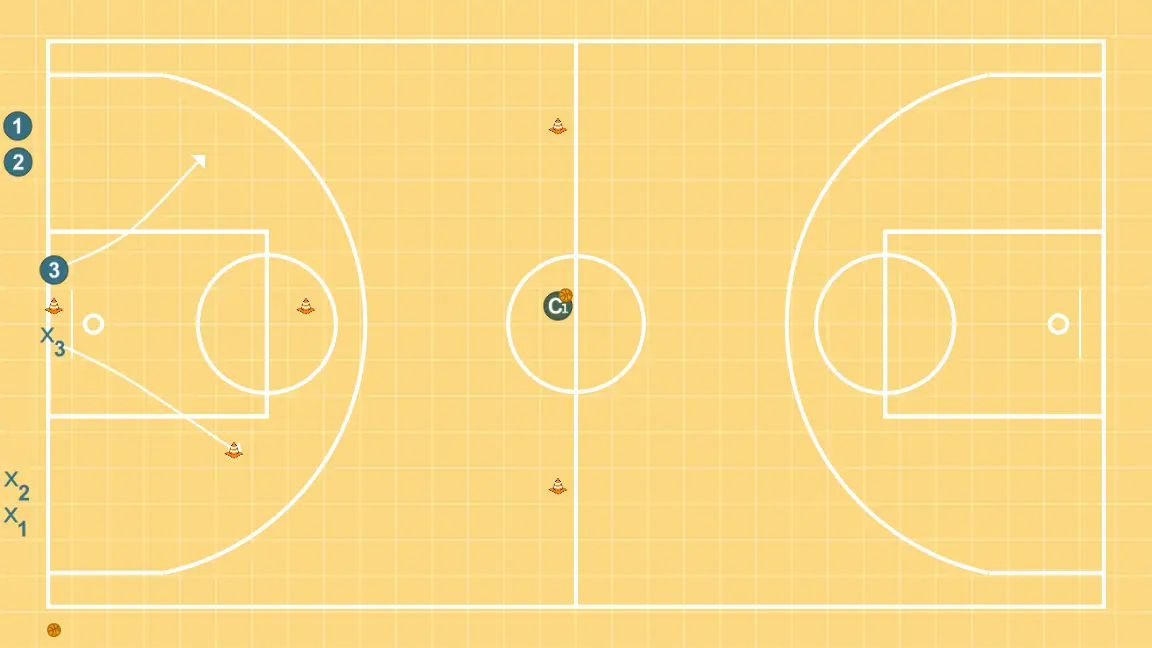
STEP 1
Small forward places themselves strategically to generate passing angles and anticipate defensive moves. Small forward shifts to an optimal spot on the court to maximize offensive efficiency.
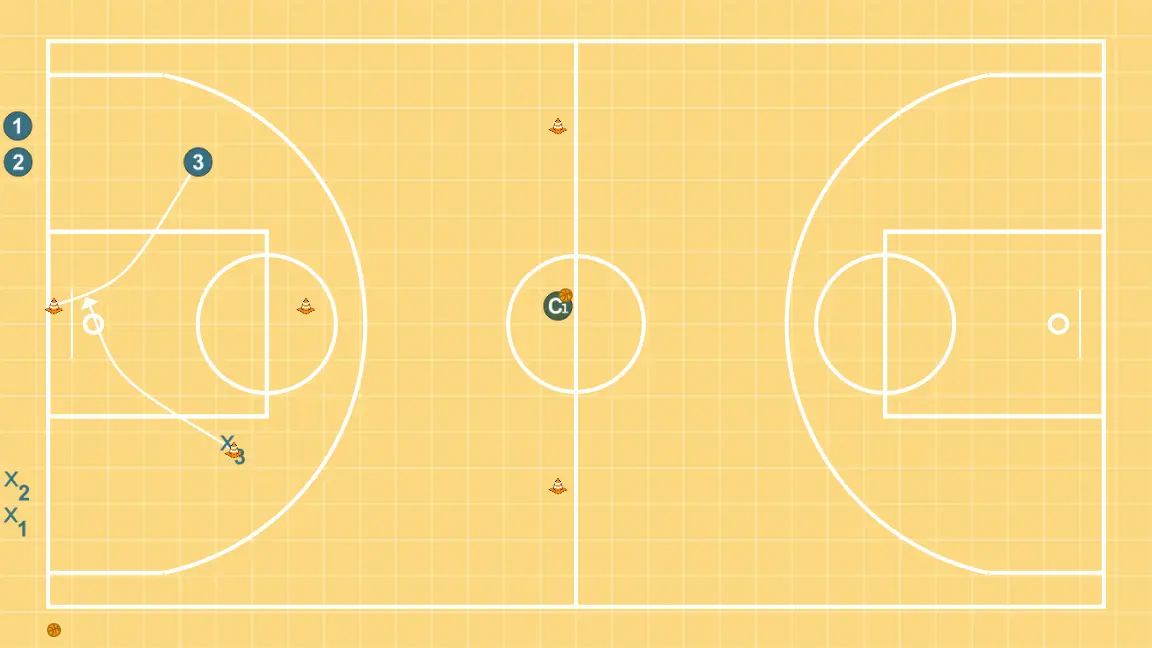
STEP 2
3 shifts to an optimal spot on the court to maximize offensive efficiency. 3 moves to support teammates and maintain constant game flow.
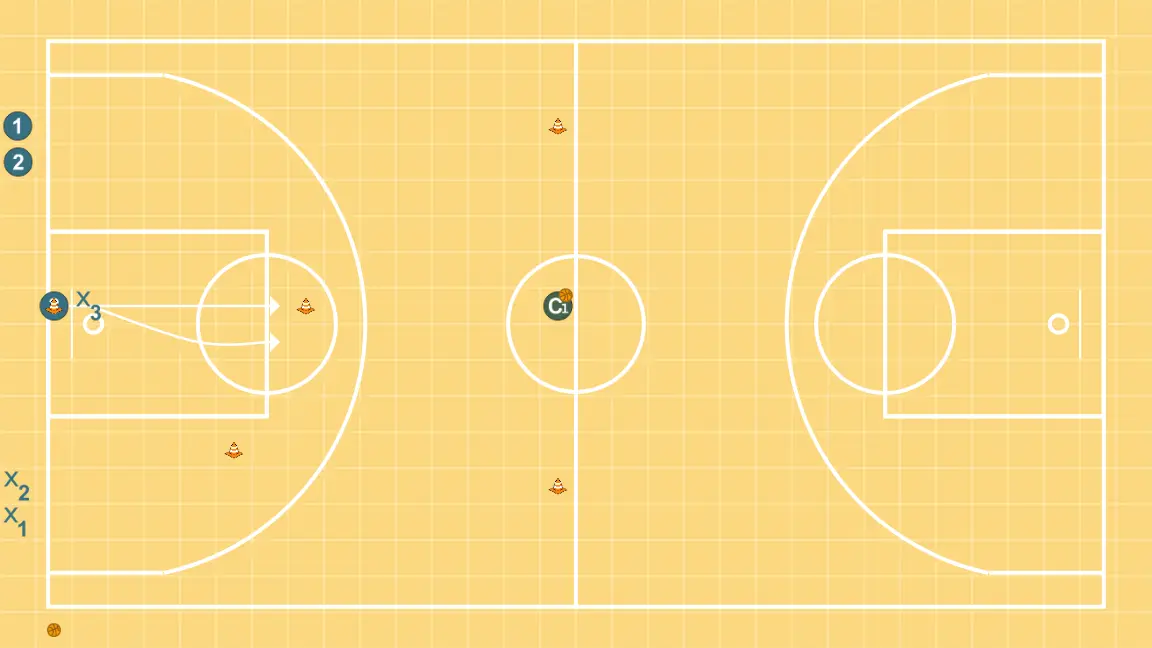
STEP 3
3 alters position to create defensive mismatches and penetration options. 3 alters position to create defensive mismatches and penetration options.
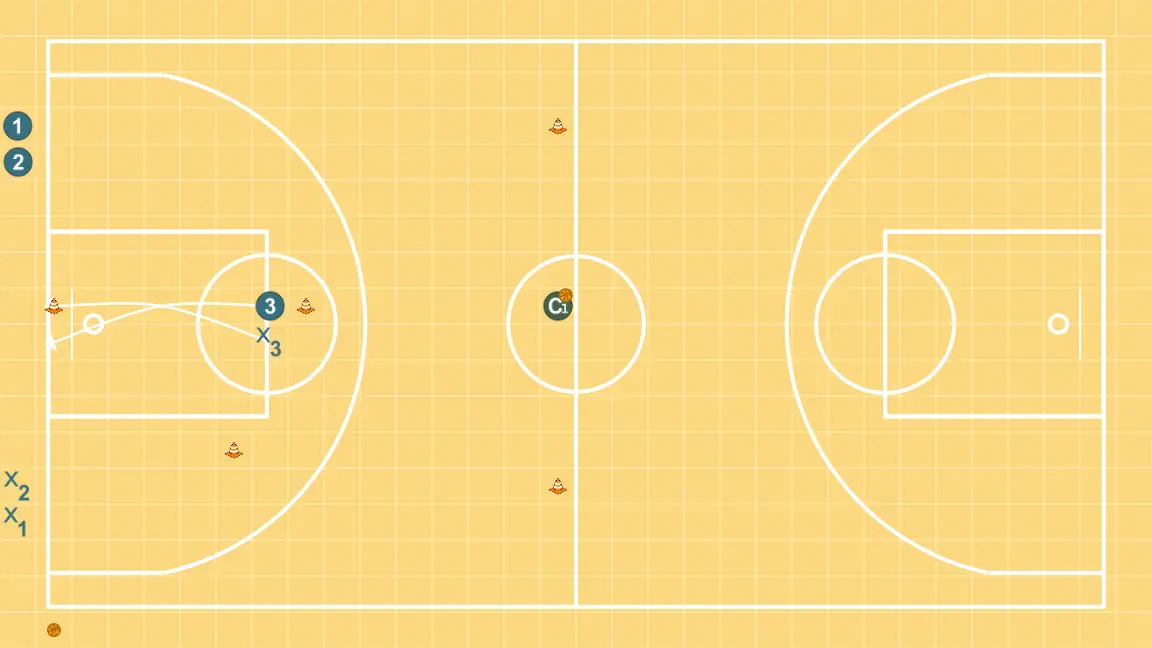
STEP 4
3 changes location seeking advantage over the defender and scoring opportunities. 3 alters position to create defensive mismatches and penetration options.
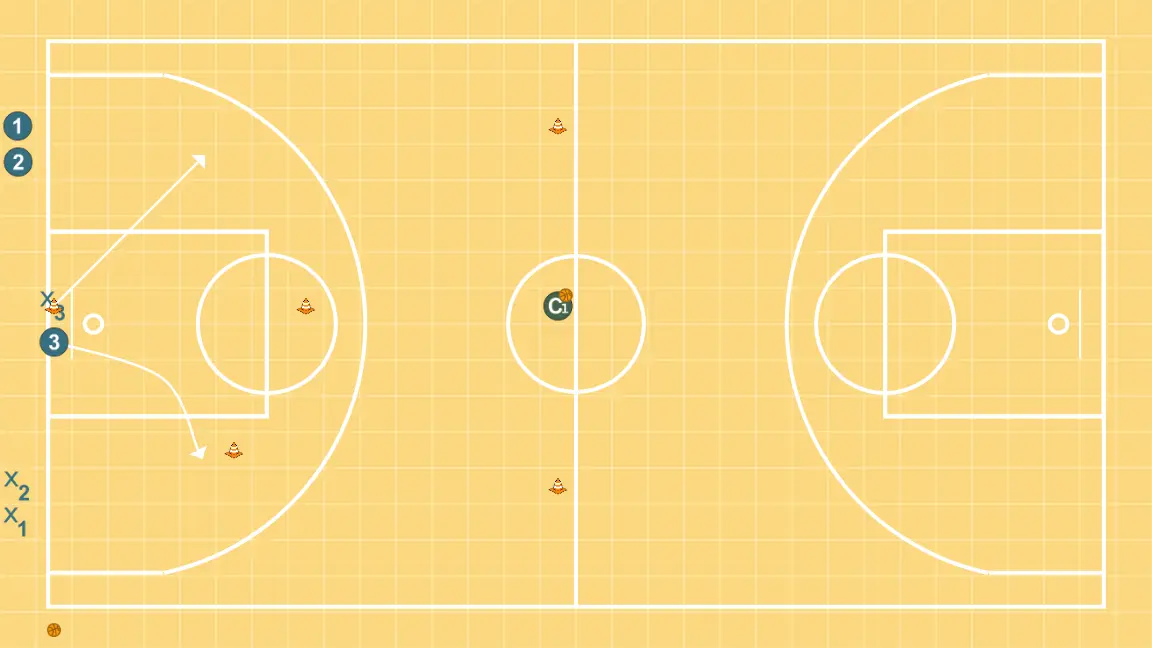
STEP 5
Small forward places themselves strategically to generate passing angles and anticipate defensive moves. Small forward changes location seeking advantage over the defender and scoring opportunities.
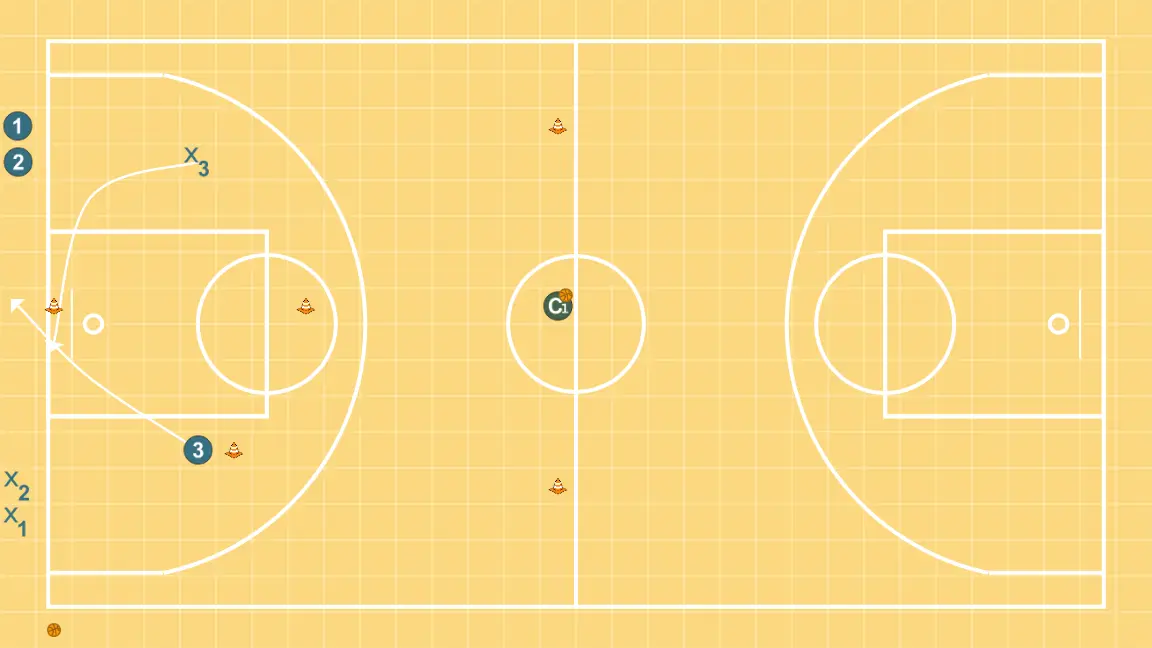
STEP 6
3 places themselves strategically to generate passing angles and anticipate defensive moves. Small forward moves strategically to provide new passing lanes and open space.
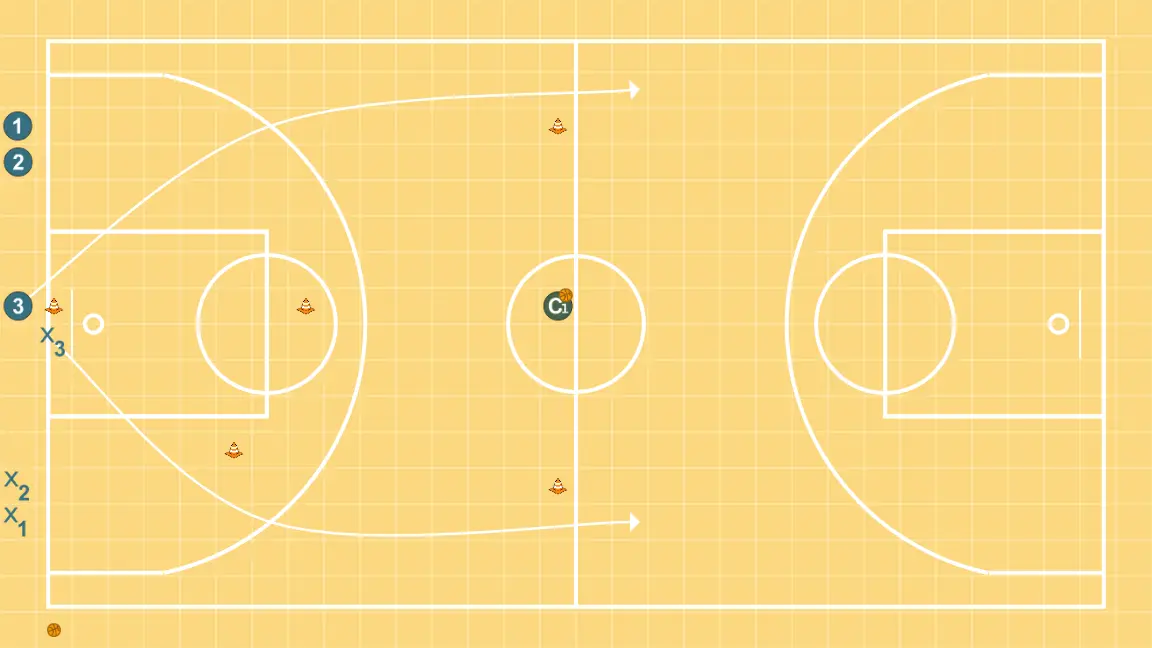
STEP 7
3 moves strategically to provide new passing lanes and open space. 3 places themselves strategically to generate passing angles and anticipate defensive moves.
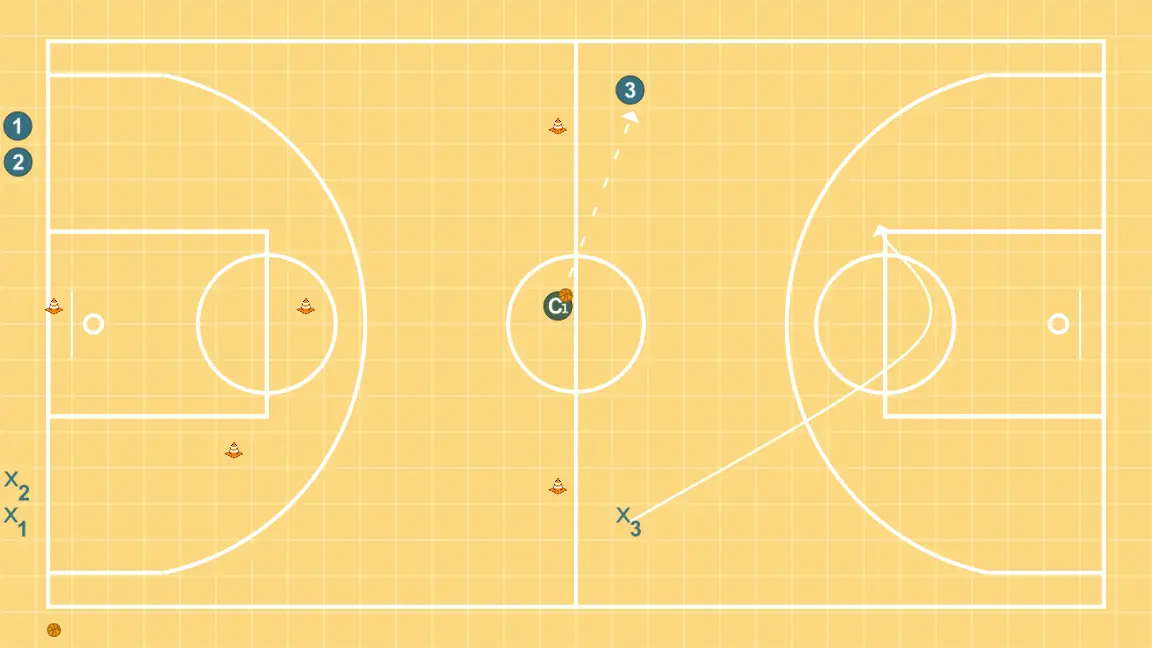
STEP 8
Small forward shifts to an optimal spot on the court to maximize offensive efficiency.
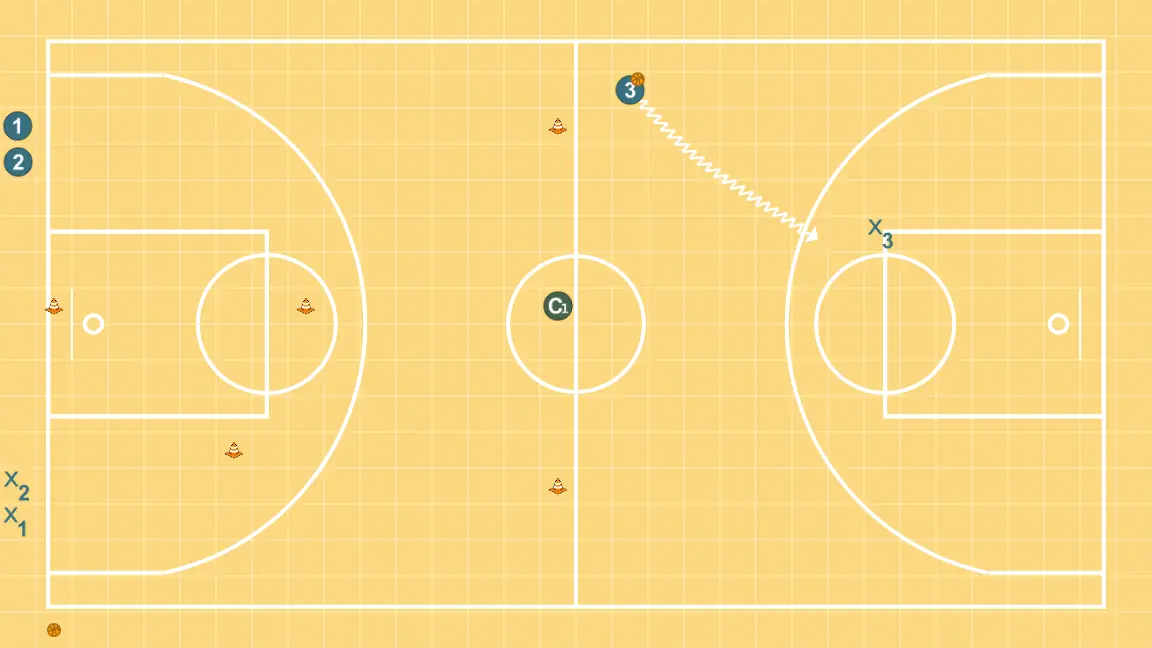
STEP 9
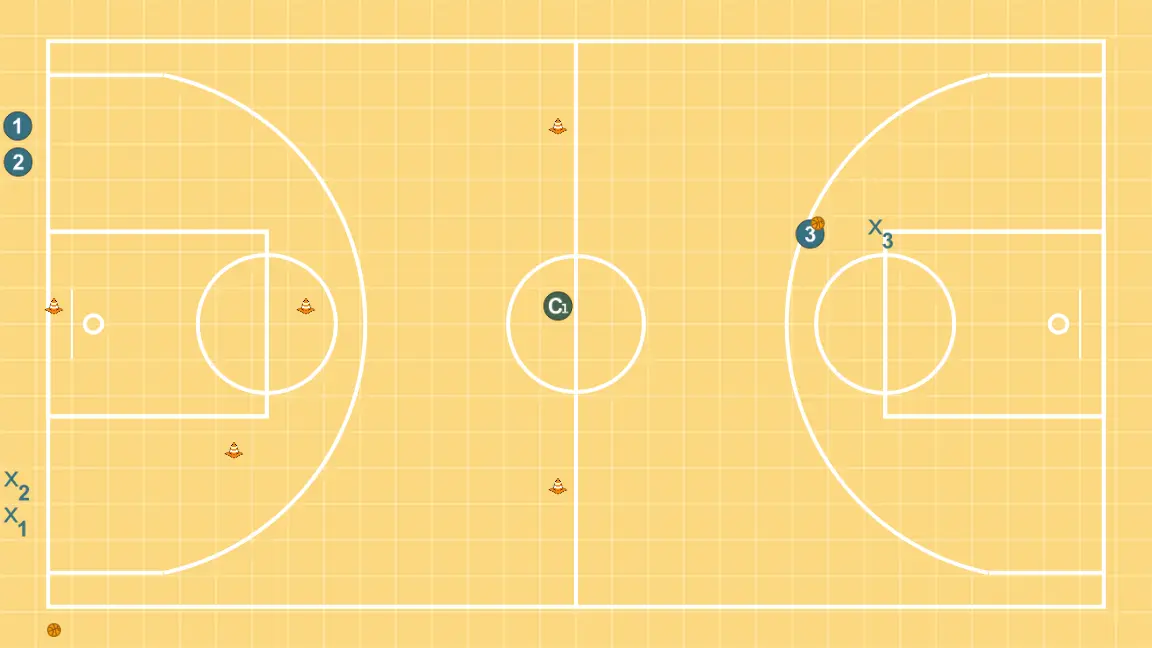
STEP 10
Each player is located strategically to maximize effectiveness in the first phase of the attack.
Comments
Sign in or register to continue. Your draft will remain in this browser and will not be published automatically.