Take your team to the next level
- Unlimited private diagrams
- Cycle-based planning
- Game plan
- Live stats recording
✅ First month free! Cancel anytime Export your content anytime and use it on any other platform. No restrictions.
combined close out and 1v1
Drill#Basketball footwork drills #Basketball conditioning drills #Basketball scrimmage drills #Other basketball drills
FAQ: Basketball Drills for Footwork and Agility
FAQ: Basketball Drills for Conditioning and Physical Fitness
FAQ: Basketball Drills for Scrimmages and Real Game Scenarios
FAQ: Other Basketball Drills and Complementary Exercises


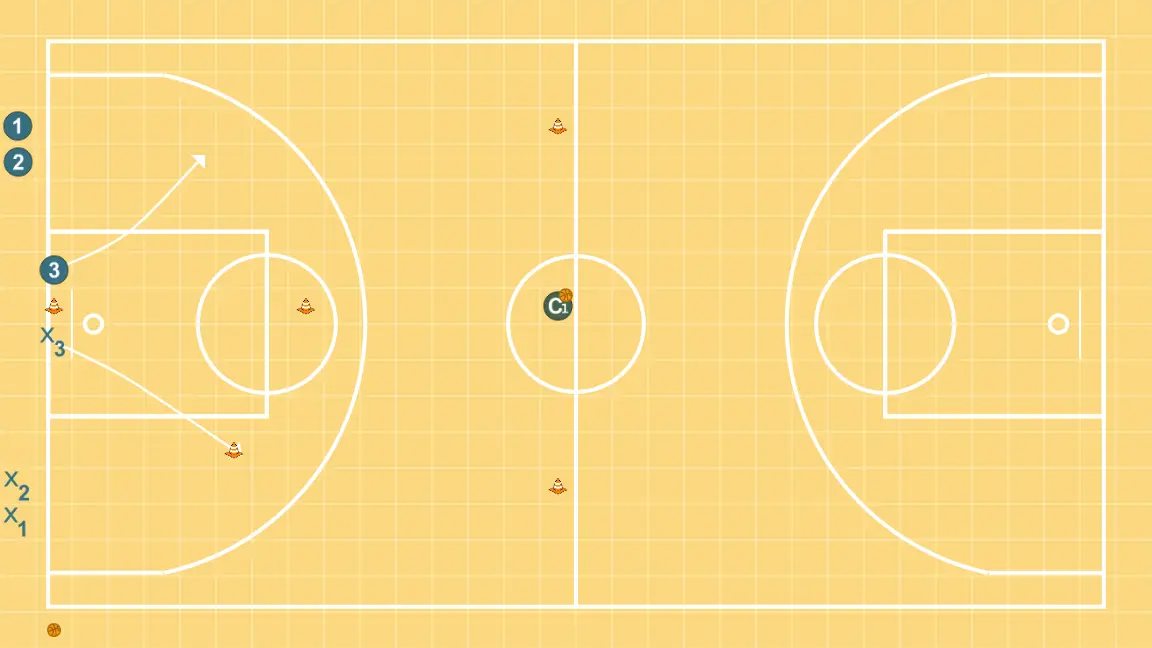
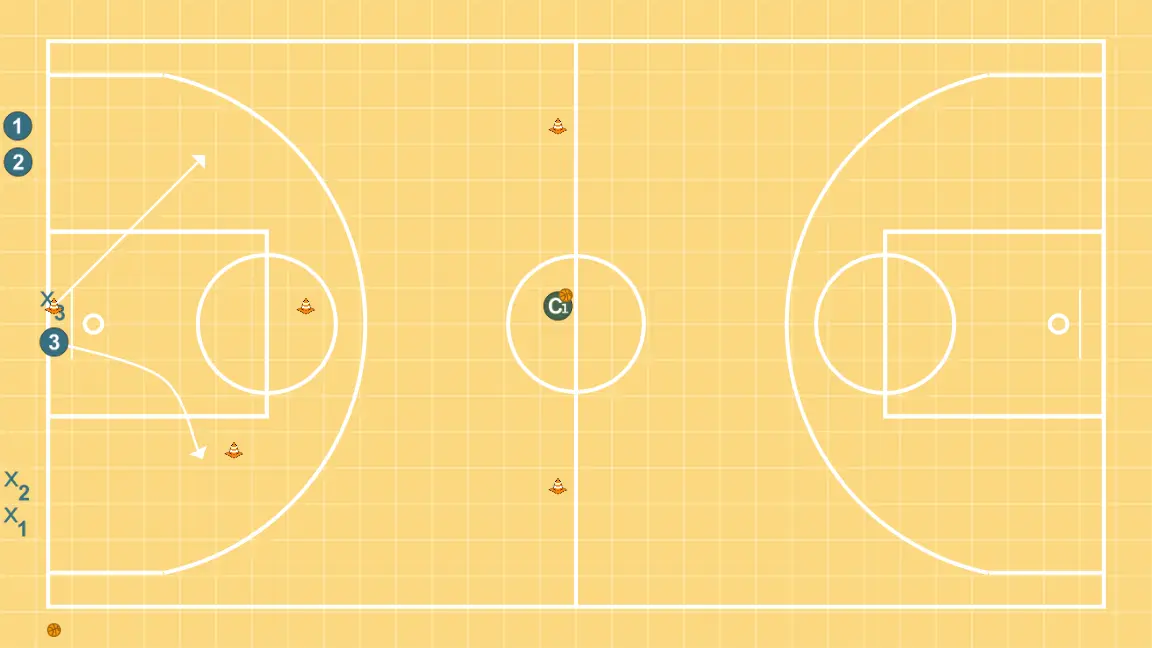
Small forward places themselves strategically to generate passing angles and anticipate defensive moves. Small forward shifts to an optimal spot on the court to maximize offensive efficiency.
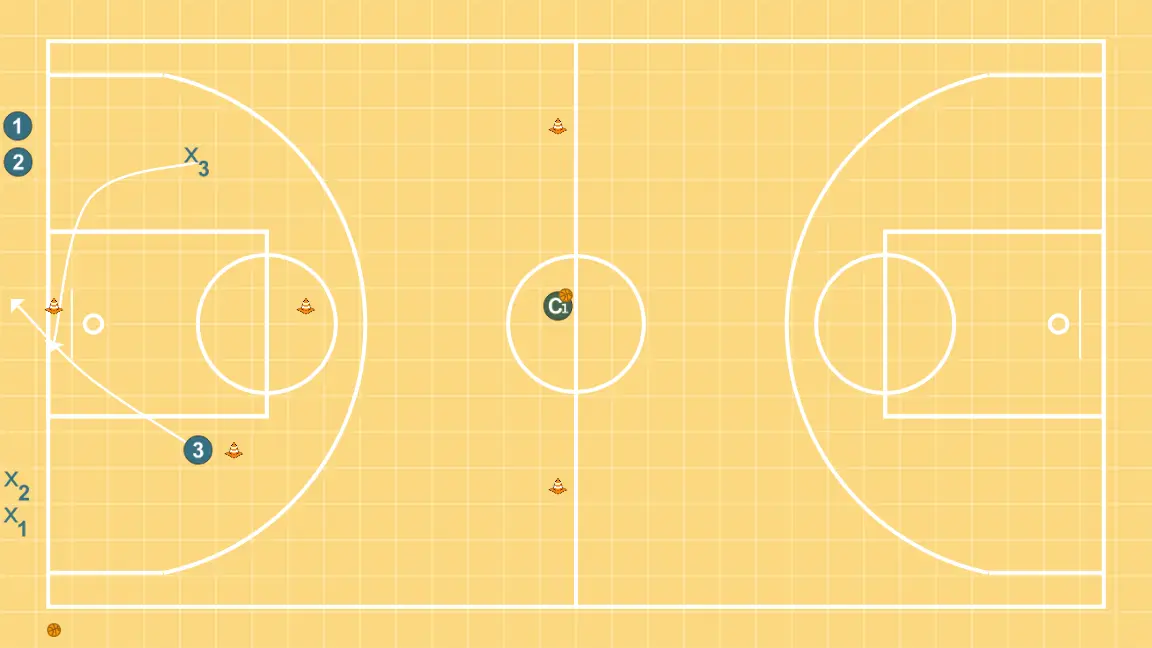
3 shifts to an optimal spot on the court to maximize offensive efficiency. 3 moves to support teammates and maintain constant game flow.
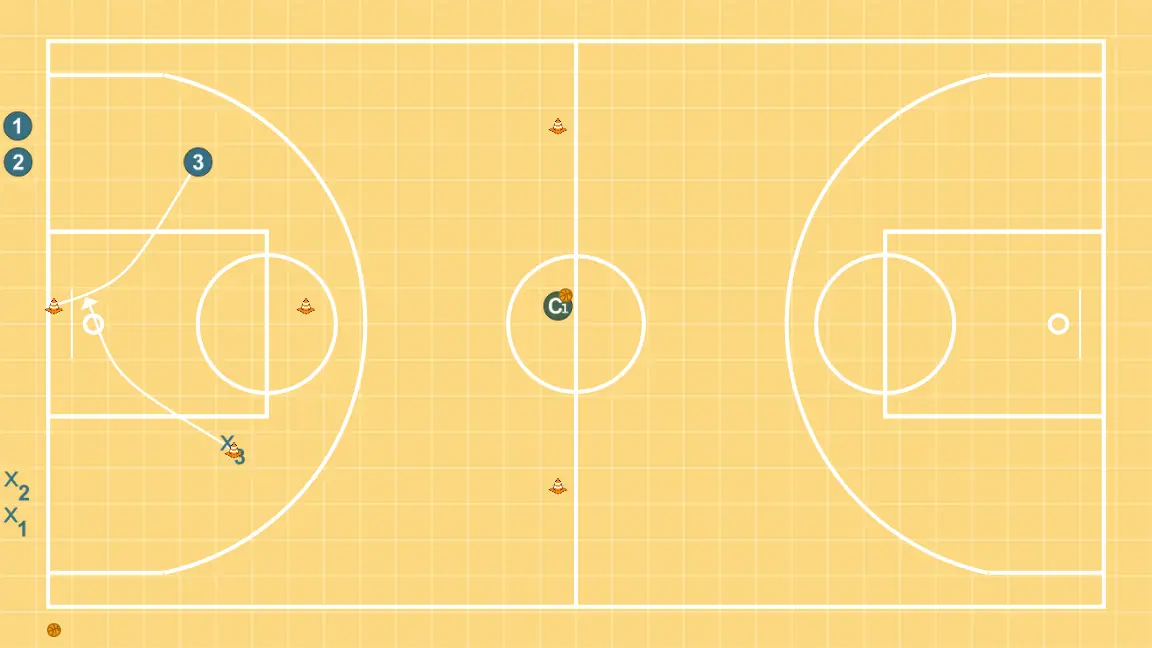
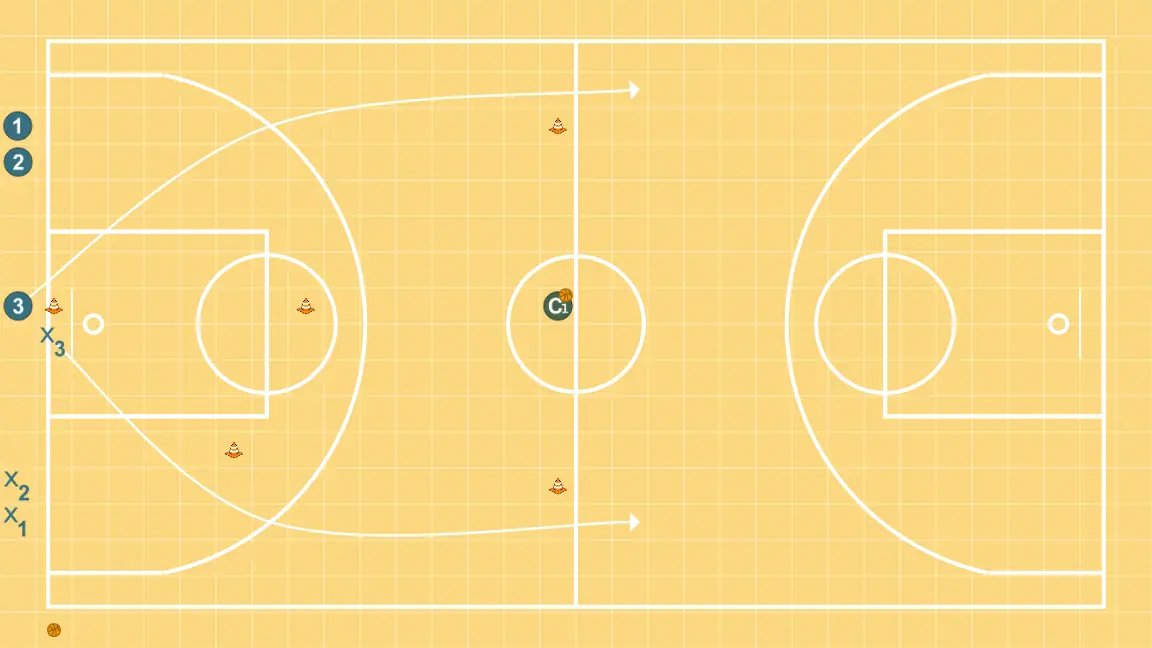
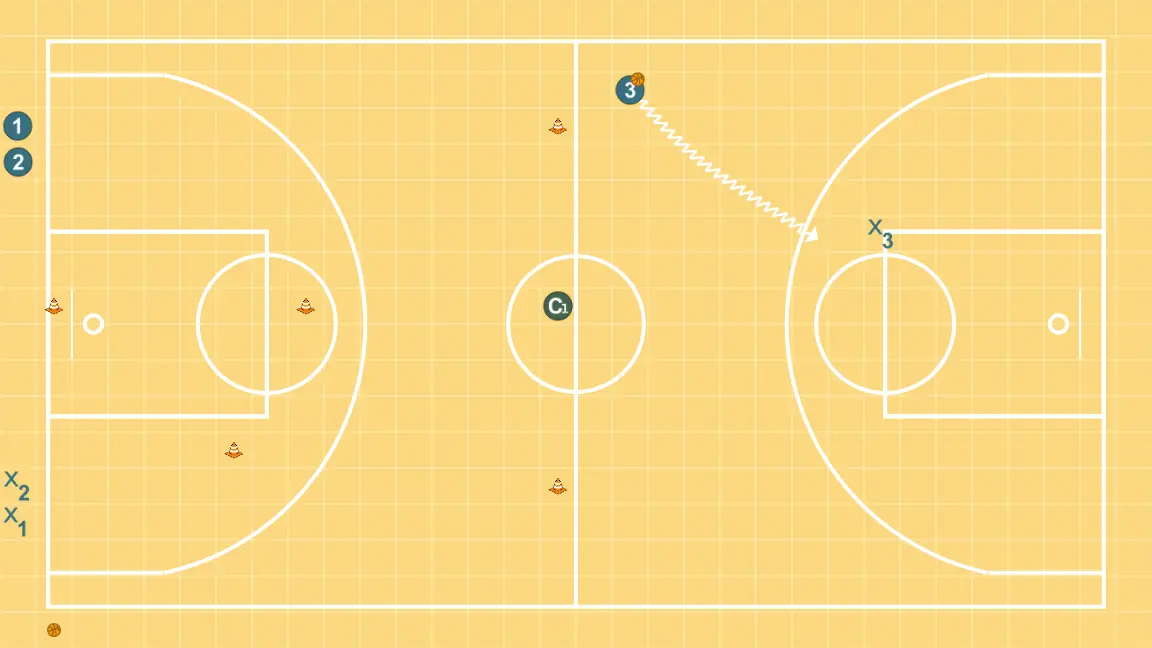
3 alters position to create defensive mismatches and penetration options. 3 alters position to create defensive mismatches and penetration options.
3 changes location seeking advantage over the defender and scoring opportunities. 3 alters position to create defensive mismatches and penetration options.
Small forward places themselves strategically to generate passing angles and anticipate defensive moves. Small forward changes location seeking advantage over the defender and scoring opportunities.
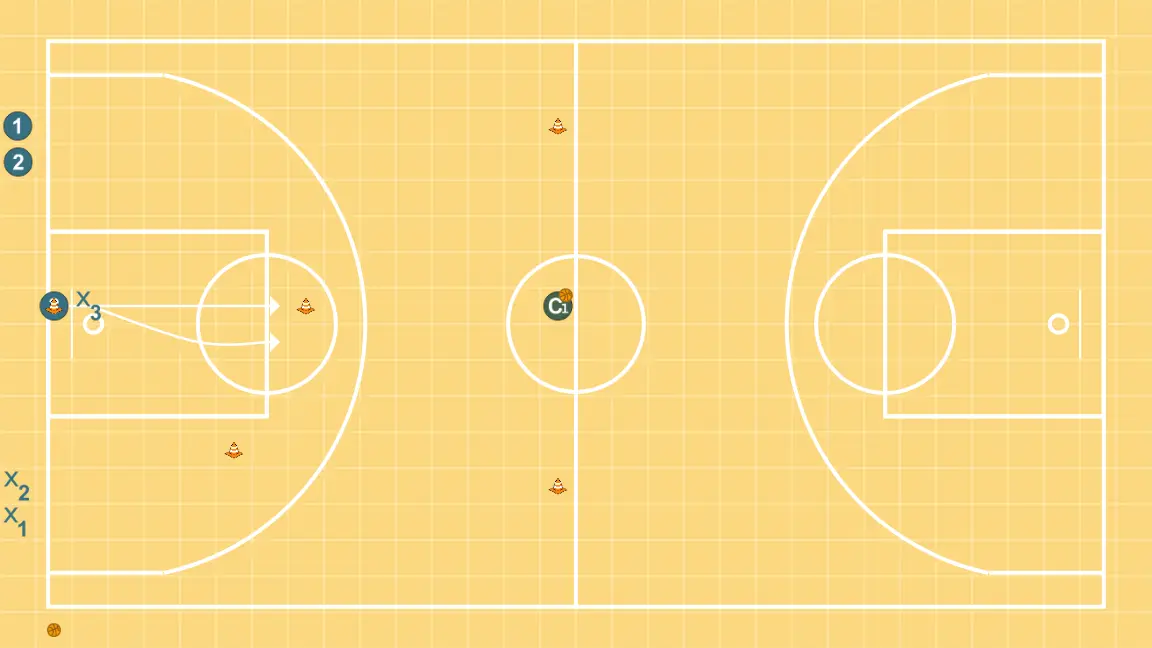
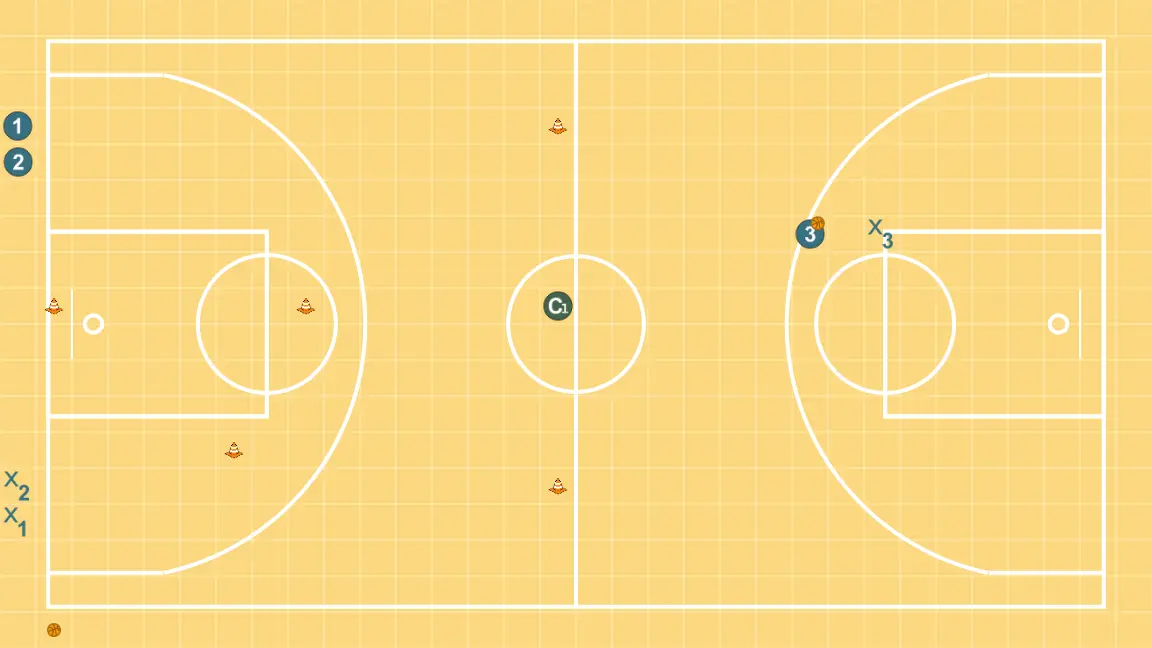
3 places themselves strategically to generate passing angles and anticipate defensive moves. Small forward moves strategically to provide new passing lanes and open space.
3 moves strategically to provide new passing lanes and open space. 3 places themselves strategically to generate passing angles and anticipate defensive moves.
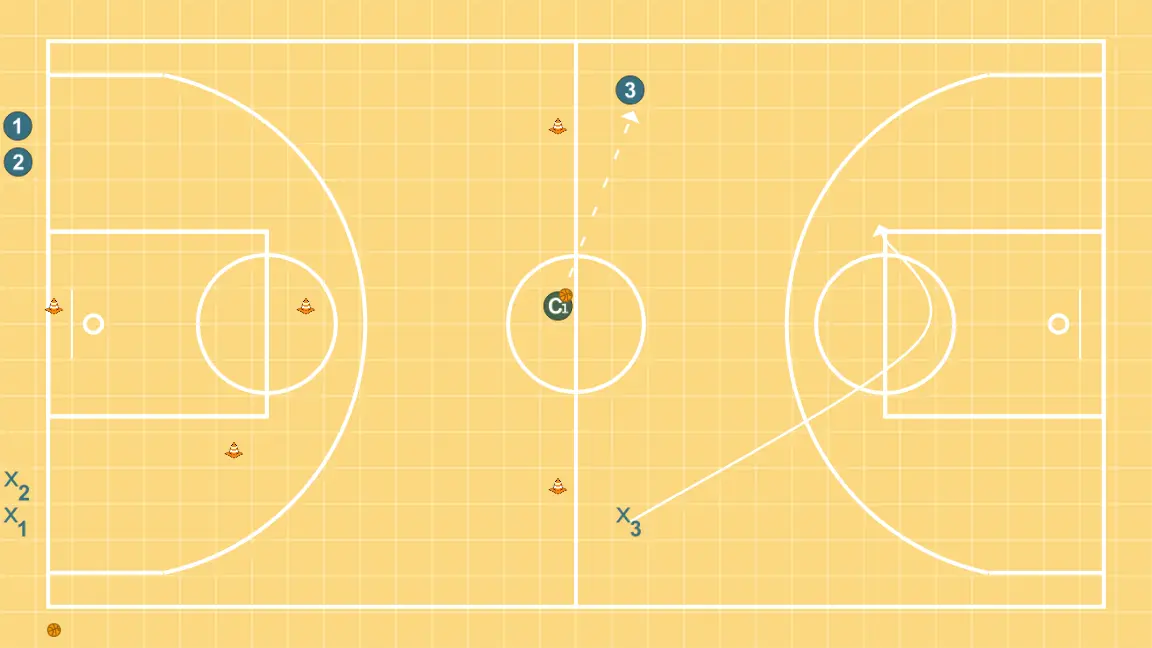
Small forward shifts to an optimal spot on the court to maximize offensive efficiency.
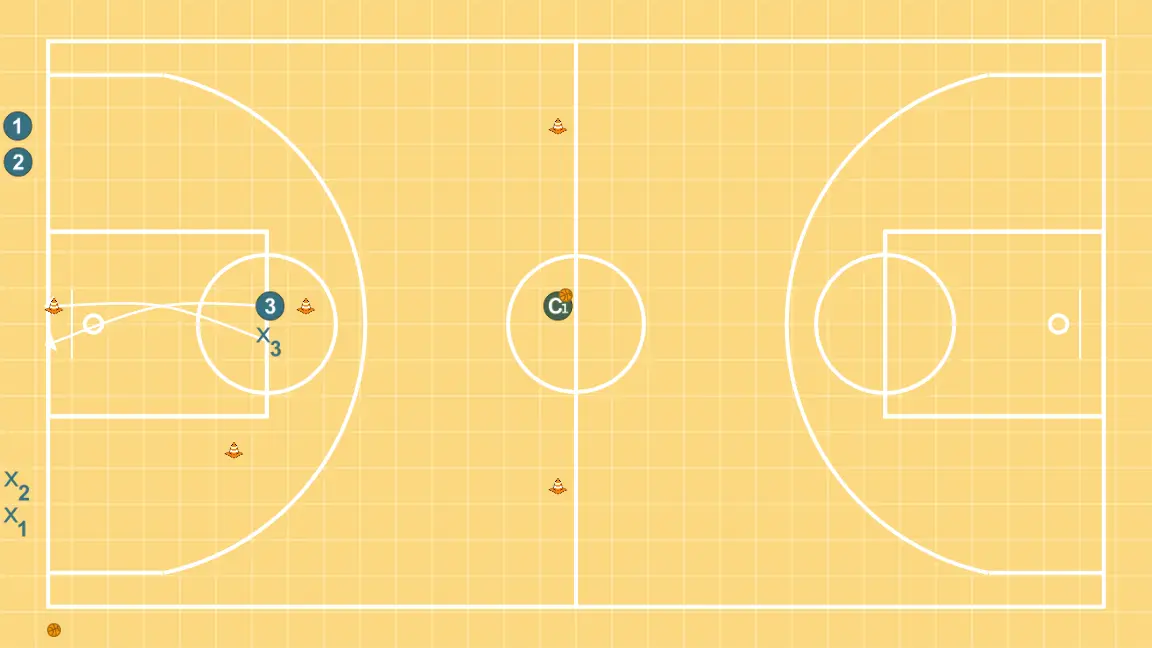
Each player is located strategically to maximize effectiveness in the first phase of the attack.

Related diagrams

1239 views ·


1441 views ·


")
